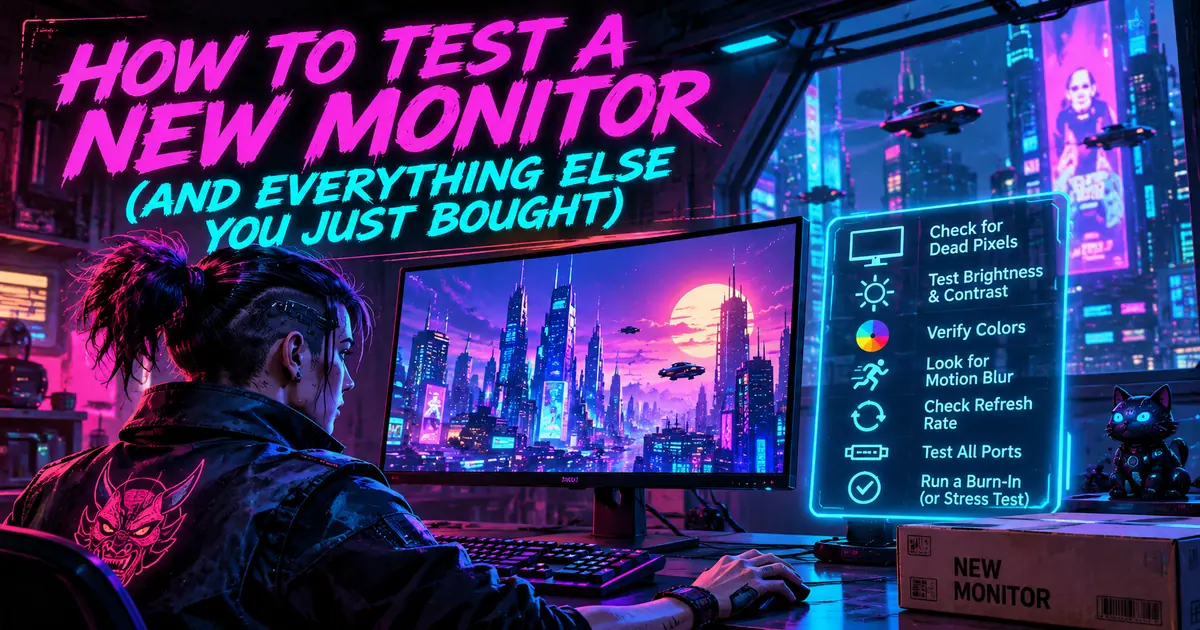
I test a new monitor the day the box arrives, because the faults that cost you money are not visible in the shop and not visible on the desk in week one. The return window is short and forgiving; the warranty that follows it is long and strict, and a single dead pixel usually falls on the wrong side of that line. Fifteen minutes with free tools catches the four faults worth sending something back for, and it also separates them from the normal behaviour you were about to argue with a retailer about.
In a Hurry? Start Here
- Inside the return window the test decides it, and outside it the panel's defect class does. Read your manufacturer's pixel policy before you argue. Why the first week matters
- Cycle the full screen through white, black and the three colours. White and black catch full pixels, the colours catch subpixels. Dead pixel test
- Bleed stays where it is when you lean; IPS glow moves with you. Only one of those is a fault. Bleed vs glow
- Most high refresh panels ship at 60 Hz, so check the display setting before you blame the panel. Refresh rate check
- A cheap drive claims capacity it does not have and corrupts once filled. A ten minute probe settles it. Fake capacity test
Table of Contents
- Why the First Week Is the Only Week That Matters
- How Do You Test a New Monitor for Dead Pixels?
- Backlight Bleed or IPS Glow? Which One Did You Actually Get?
- Is Your Monitor Running at the Refresh Rate You Paid For?
- Colour, Banding and Uniformity: The Two Tests Worth Doing
- Testing the Keyboard for Ghosting and Rollover
- Testing a USB Drive for Fake Capacity
- If You Also Bought a Dock or a Webcam
- What to Do When a Test Fails
Disclosure: TechDeskZone is reader-supported. When you buy through links on our site, we may earn an affiliate commission at no additional cost to you. See our affiliate disclosure for details.
Why the First Week Is the Only Week That Matters
Two different rules cover a faulty device, and they are not the same rule. The retailer’s return window is short and forgiving: within it, “I do not want this” is reason enough. The manufacturer’s warranty is long and strict: it only covers what the panel’s stated defect class allows, and a single dead pixel is often inside that allowance.
That asymmetry is the whole argument for testing early. A fault found on day two is a refund. The same fault found on day forty becomes a warranty conversation about pixel classes and “within specification”, and the specification usually wins.
Before you start, write down four things: the date the box arrived, the model number on the carton, the serial number, and the retailer’s return deadline. If a test fails, those four lines are most of the evidence you need, and the date is the one people forget.
How Do You Test a New Monitor for Dead Pixels?
Fill the screen with a single solid colour, get close, and look. That is the entire test. A browser-based full-screen colour tester does it without installing anything: go full screen with F11, set brightness to maximum, and cycle through white, black, red, green and blue. Each colour exposes a different fault.
A dead pixel is permanently off and shows as a black dot on white. A stuck pixel is permanently on and shows as a coloured dot on black. A hot subpixel is a single red, green or blue element that stays lit. White and black fields catch full pixels; the three colour fields catch subpixels, which is why people who only check white miss half of them.
Work methodically rather than scanning: divide the screen into four quadrants and sweep each one, about 30 cm from the glass. Then check the edges, where defects cluster and where your eye skips them.
Here is the part that decides whether you have a case. Monitor manufacturers build panels to a defect class defined by ISO 9241-307, and that class sets how many faulty pixels are still considered acceptable. A panel that permits some defects is not faulty by its own specification, even though it is faulty by yours. So before you phone the retailer, find out two things: what the retailer’s return window allows, and what the manufacturer’s pixel policy says about your model.
If the retailer allows a no-reason return, use it. That route does not care about pixel classes at all. If the window has closed, you are arguing the warranty, and the warranty has numbers on its side.
Exactly how those numbers fall per million pixels varies by class, and the class a manufacturer commits to can change between product lines, so read the policy for your model rather than a blog summary of the standard. The standard itself is documented in ISO 9241.
Backlight Bleed or IPS Glow? Which One Did You Actually Get?
These two get confused constantly, and only one of them is a defect. The test is the same black field you used for stuck pixels, run properly: lights off, curtains closed, no reflections in the glass, and give your eyes 30 seconds to adjust before you judge anything.
Backlight bleed is light escaping around the edges of the panel where the assembly is under tension. It stays put. Move your head and the patch stays exactly where it was, in the same shape, at the same brightness.
IPS glow is different. It is light from the backlight scattering through the liquid crystal layer at an angle, and it moves with you. Lean 30 cm to your left and the bright wash in the corner fades while another corner brightens. If the glow follows your head, the panel is behaving as designed, and no retailer owes you anything.
The test that settles it takes two photographs. Take one square on, then one from 30 cm to the side, at the same exposure. Compare the corners. A patch that is identical in both frames is bleed. A patch that dims as you move is glow.
This distinction matters more on an IPS panel than on a VA or OLED one, because IPS glow is a property of the technology rather than a manufacturing error. A 27-inch IPS monitor with a visible corner wash in a dark room is within normal behaviour. That is worth knowing before you open a support ticket about it.
Is Your Monitor Running at the Refresh Rate You Paid For?
Most high-refresh monitors arrive at 60 Hz. They are not faulty; the operating system picked a safe default and nobody changed it. So the first check is not a test at all, it is a settings check: open your display settings and confirm the mode is the one on the box.
On Ubuntu that is Settings, then Displays, where the refresh rate is a dropdown. If the panel is 240 Hz and the dropdown says 60.00 Hz, you have found the fault already.
Then confirm the panel is actually delivering frames rather than repeating them. Open testufo.com in a browser, let the animation run for a few seconds, and read the rate it reports. A panel set to 240 Hz that reports 60 means the setting did not stick, or the cable and port cannot carry the signal.
Frame skipping is the harder fault. The frame-skipping test on the same site asks you to photograph the moving pattern with a phone camera; a clean capture shows individual squares, a skipping panel shows them merged or missing. Do it at 100 percent zoom, because browser scaling can manufacture the defect it is meant to find.
Cables matter here in a way they do not for 60 Hz. A cable that carries 1080p at 60 Hz perfectly can fail at 240 Hz, and that failure looks like a dead monitor rather than a bad cable. Check the ports listed in the monitor’s own manual rather than guessing which input is full speed.
What each refresh rate buys you, in milliseconds between frames:
- 60 Hz gives you 16.7 ms of input lag baked into the display itself.
- 144 Hz cuts that to 6.9 ms.
- 240 Hz brings it to 4.2 ms.
For office work those numbers are mostly academic; the cursor feels smoother and that is the honest benefit. For anything involving fast motion they are not. If you are deciding whether the upgrade was worth it, our comparison of 60 Hz, 120 Hz and 144 Hz for office work covers the everyday half of that question.
Colour, Banding and Uniformity: The Two Tests Worth Doing
Colour claims are the easiest thing to verify and the least likely to be wrong. A full-screen gradient checks for banding, where smooth transitions show visible steps. A grey ramp checks whether the panel can hold neutral grey without tinting.
Uniformity is the one worth photographing. Put a flat 50 percent grey on screen, square up to it, and photograph it without moving. Real panel variance shows as a brighter or dimmer patch, usually in a corner. Photograph from the same position twice to separate a real defect from your camera’s exposure.
This is also the point where the panel’s own review data is worth reading. Independent reviewers publish measured uniformity and contrast for specific models, so a visible patch can be checked against what the review sample measured. If a review of your exact model found similar variance, you are looking at a characteristic of the panel, not a bad unit. For work that depends on colour accuracy, the panel type matters more than any single test, which is why IPS, VA and OLED behave so differently under the same lighting conditions.
Testing the Keyboard for Ghosting and Rollover
Ghosting is what happens when you press several keys at once and the keyboard reports a key you never touched, or drops one you did. It is a limitation of the keyboard’s matrix, not a software fault, and it is easy to trigger once you know how.
Open an online keyboard tester, hold three keys, then four, then six. Watch which of them light up. A keyboard with full n-key rollover reports every key you are holding. A 6-key rollover board stops at six. A cheap matrix will drop inputs well before that, and it will usually drop the same corner of the keyboard every time.
For proof that survives an argument, watch the raw input stream instead of a browser page. On Linux, evtest prints every key event as the kernel receives it, which separates what the keyboard sent from what the browser chose to show.
Wireless keyboards need one caveat applied before you blame the switches. A board on a dongle can be limited by the receiver, by battery state, or by how many devices share the dongle, so a dropped key on wireless proves less than the same drop on a cable. Test it again wired, if it has a cable, before you conclude anything. If you are choosing between boards for work that involves switching machines all day, our guide to keyboards built for two or three computers covers the connection side, and if it is the sound rather than the rollover that is bothering you, silent mechanical keyboards covers what actually quietens a switch.
The browser tester also cannot measure latency or polling rate. It can show you a dropped key; it cannot tell you how fast the board answers. Do not let a pass on the tester read as a pass on responsiveness.
Testing a USB Drive for Fake Capacity
This is the test most people skip and the one most likely to cost you data. A counterfeit drive reports a capacity it does not have, and it works perfectly until you fill it past the real flash inside. Then it wraps around and overwrites what you already stored.
Discovering that at 60 percent full, on a drive you use for backups is a bad afternoon. Discovering it on day one takes ten minutes.
The fast check is a probe that reads the drive’s own claim and compares it against the flash it can actually address. On Linux, f3probe does this in seconds and is explicit that it destroys the contents, so use a spare drive rather than the one with your work on it. On Windows, H2testw writes the full capacity and reads it back, which is slower but equally conclusive.
The thorough version is a full write and verify: fill the drive, read every file back, and compare. That takes as long as the drive’s real speed allows, which is itself useful information, because a drive advertising fast speeds and delivering a fraction of them has told you something. Our guide to USB drives that survive the capacity test covers what the honest ones look like.
If You Also Bought a Dock or a Webcam
The same principle applies to the rest of the order, and the checks are short.
For a dock or a hub, the question is what link speed each port actually negotiated. On Linux, lsusb -t prints the tree with the speed of every connection, and a device showing 480M next to a SuperSpeed port is running at USB 2.0 speeds whatever the marketing said. On Windows, USB Device Tree Viewer shows the same information. If a port drops, swap the cable before you conclude anything, because a charge-only or USB 2.0 cable produces exactly this result. If the link speed is right and a display still never appears, the problem has moved from testing to configuration, and our guide to a dock that will not drive the display at all starts at that point. If you are buying rather than checking, the USB-C docking stations worth keeping are the ones that negotiate their ports honestly.
The USB naming convention is worth knowing before you read any of it. What was sold as USB 3.0 became USB 3.1 Gen 1 and is now USB 3.2 Gen 1×1, all of them 5 Gbps. Gen 2×1 is 10 Gbps and Gen 2×2 is 20 Gbps, and the numbers are stated plainly in Kingston’s explanation of the naming. A device described as “USB 3.2” can therefore be a 5 Gbps port or a 20 Gbps one, which is why you check what was negotiated rather than what was printed.
For a webcam, the check is claimed resolution against delivered frame rate. Player tools and the operating system’s own camera app both report the modes the sensor offers, and if a camera claims 1080p at 30 frames per second but negotiates a USB 2.0 link, compression is doing part of the work and the image will show it. The camera is not faulty in that case; the port is. If the answer is a replacement rather than a different port, our guide to webcams that deliver their claimed frame rate covers what to look for on the box.
These two checks are written from the documented behaviour of those tools rather than from tests run for this article. I would rather say that than dress them up.
What to Do When a Test Fails
Collect evidence before you contact anyone, because the first question will be what you observed and how.
- Photograph the fault on screen, not with a screenshot. A screenshot captures the signal, not the panel, so it will not show a dead pixel or a glow patch.
- Record the exact test, the settings used, and the date. Brightness 100 percent on a white field is a different test from brightness 40 percent.
- Note the serial number and the date the device arrived.
- Decide which route you are taking. Inside the retailer’s return window, use the return. Outside it, you are making a pixel-class or defect argument, and the manufacturer’s policy for that model decides.
Two refusals are worth anticipating. “Within specification” is the standard answer for a single dead pixel or a normal amount of IPS glow. “Physical damage” is the standard answer if the fault is near an edge where a scuff can be blamed. Photographs taken on the day you opened the box, before any scuff existed, are what close that second argument.
If the monitor is going back and the desk is not, the replacement question is about mounting rather than testing, and our guide to monitor arms worth pairing with a 27-inch panel covers the weight and VESA side of that decision.
One last possibility is worth ruling out, because it wastes the most time of anything on this page. Everything can pass and the machine can still feel slow, since the bottleneck is often not the panel at all. Why is my RAM full covers the other half of a slow new machine.
Sources
- Samsung, Odyssey G4 G40B 27-inch product page (LS27BG400EUXEN): panel type, resolution and 240 Hz specification.
- RTINGS, Samsung Odyssey G4/G40B S27BG40 review: independent measurements for this model.
- Kingston, USB 3.0, 3.2 Gen 1 and 3.2 Gen 2 explained: the naming and speed tiers for USB 3.x.
- ISO 9241-307, display defect class definitions, as summarised in the ISO 9241 standard overview.
- f3, probe and verify tools for detecting counterfeit flash capacity, project documentation.
The Verdict
Bottom line: Most faults worth returning a device for are visible in the first fifteen minutes with free browser tools and a dark room, and the ones people complain about loudest, like IPS glow on a dark screen, are usually the panel working as designed.
Quickest fix: Run the five monitor checks tonight, write down the arrival date and serial number, and photograph anything you find before the return window closes rather than after.
Best permanent fix: Keep the check as a habit for every new order, because the same four tests cover keyboards, flash drives, docks and webcams, and the cost of running them is one sitting per delivery.
← Back to Guides Hub